Install macOS on VMware
NOTICE: This article was written in Apr. 2022, and some links / methods might be outdated.
Environment
All relevant preparing works are done on Arch Linux.
Step 1: Fetch macOS Installer Package
gibMacOS: https://github.com/corpnewt/gibMacOS
Running gibMacOS.py and select the wanted macOS version:
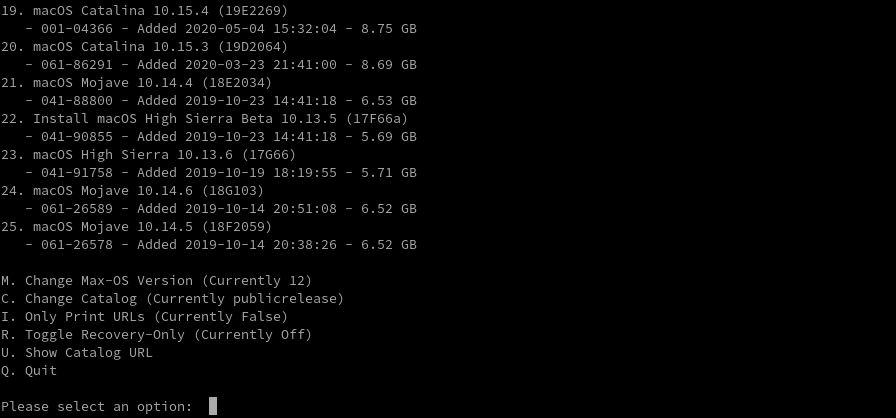
gibMacOS
The installer will be fetched at its publicrelease folder:

macOS Installer
The only necessary file here is InstallAssistant.pkg.
Step 2: Extract the Installer
Some extra tools should be installed:
By running xar -xf InstallAssistant.pkg, a large dmg file SharedSupport.dmg will be extracted.
darling-dmg supports mounting dmg images, the usage is shown below
mkdir /tmp/sharedsupport
darling-dmg SharedSupport.dmg /tmp/sharedsupport
then the contents of SharedSupport.dmg should be available at /tmp/sharedsupport:
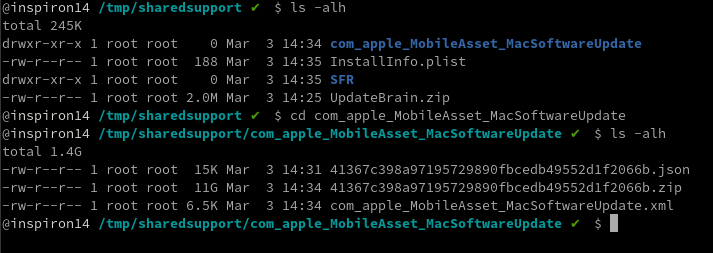
Contents of SharedSupport.dmg
Step 3: Get macOS Recovery Image
There is a zip archive in com_apple_MobileAsset_MacSoftwareUpdate. Use your preferred tools to browse it and you will find another dmg image called BaseSystem.dmg inside it.

Contents of the ZIP Archive
Use your preferred tools to extract it. This is the recovery image of macOS. (some stuff like Windows PE / Live CD of Linux distros)
Step 4: Convert DMG to VMDK
BaseSystem.dmg cannot be directly used by VMware or ESXi.
qemu-img is a useful utility to convert disk images between several formats (e.g. vdi, vmdk, qcow2).
By running
qemu-img convert -O vmdk -o compat6 BaseSystem.dmg BaseSystem.vmdk
a VMware-compatible disk will be generated.
The disk can used directly by VMware Workstation (but not ESXi).
Step 5: (ESXi Only) Convert Disks to Flat Models
In VMware ESXi, virtual disks are using flat models. So the disk converted by qemu-img is not compatible with ESXi.
You should first upload BaseSystem.vmdk in Step 4 to your ESXi host (via scp / Web UI).
Log in ESXi via ssh, switch to your previous upload directory and run
vmkfstools -i BaseSystem.vmdk Recovery.vmdk
Now, an ESXi-compatible disk Recovery.vmdk is generated.
Step 6: VMware Unlocking
Due to designated restrictions, you still cannot run macOS virtual machines on VMware. However, these restrictions are removable by unlocking.
Unlockers for different products
- VMware Workstation: https://github.com/paolo-projects/unlocker/releases
- VMware ESXi: https://github.com/hugepants/esxi-unlocker/releases
See their READMEs for details.
Step 7: Start up Virtual Machine and Install macOS
Create a virtual machine with proper OS type, new virtual disks (70GiB+ recommended). Then add BaseSystem.vmdk / Recovery.vmdk as an extra disk of new machine.
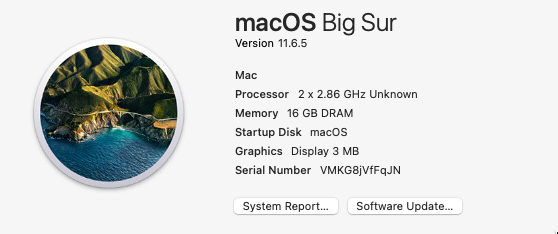
Boot up and you will see Apple logo. If nothing goes wrong, you will see the Recovery system.
Erase your by Disk Utility and you can go with the installation. Cheers!